 01
01Mark
Mark the exact track position before bonding.

manual
A clear guide for planning, mounting and starting the Light-IT system. The track is bonded in place, the lights attach magnetically.
Open PDFbefore you start
Plan the track path before bonding. The surface must be clean, dry and load-bearing. Lights and feed points can be placed flexibly on the track later.
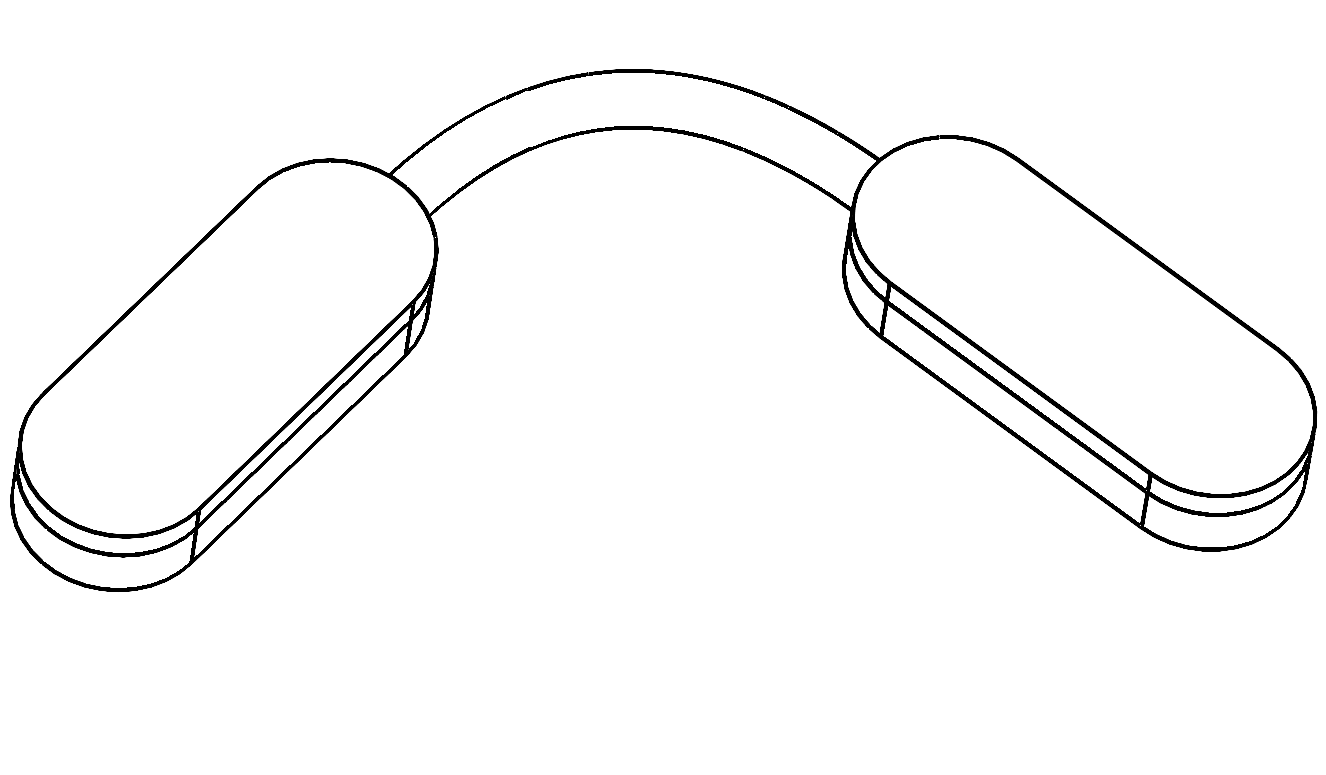 01
01Mark the exact track position before bonding.
 02
02The track can be adjusted cleanly with suitable shears.
 03
03Peel the liner step by step, not all at once.
 04
04Start at one end and guide the track along the marking.
 05
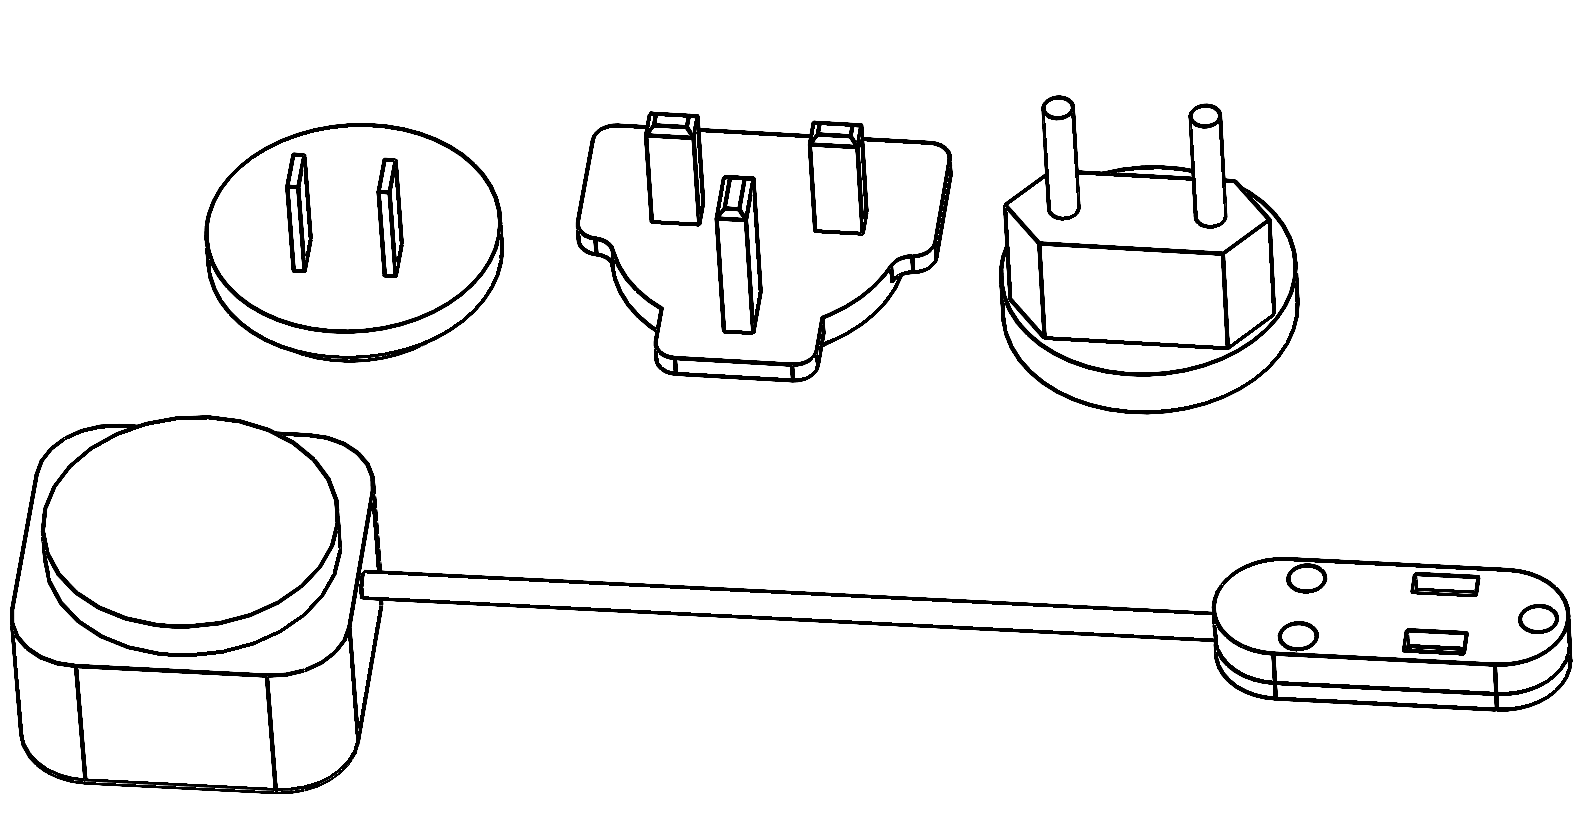
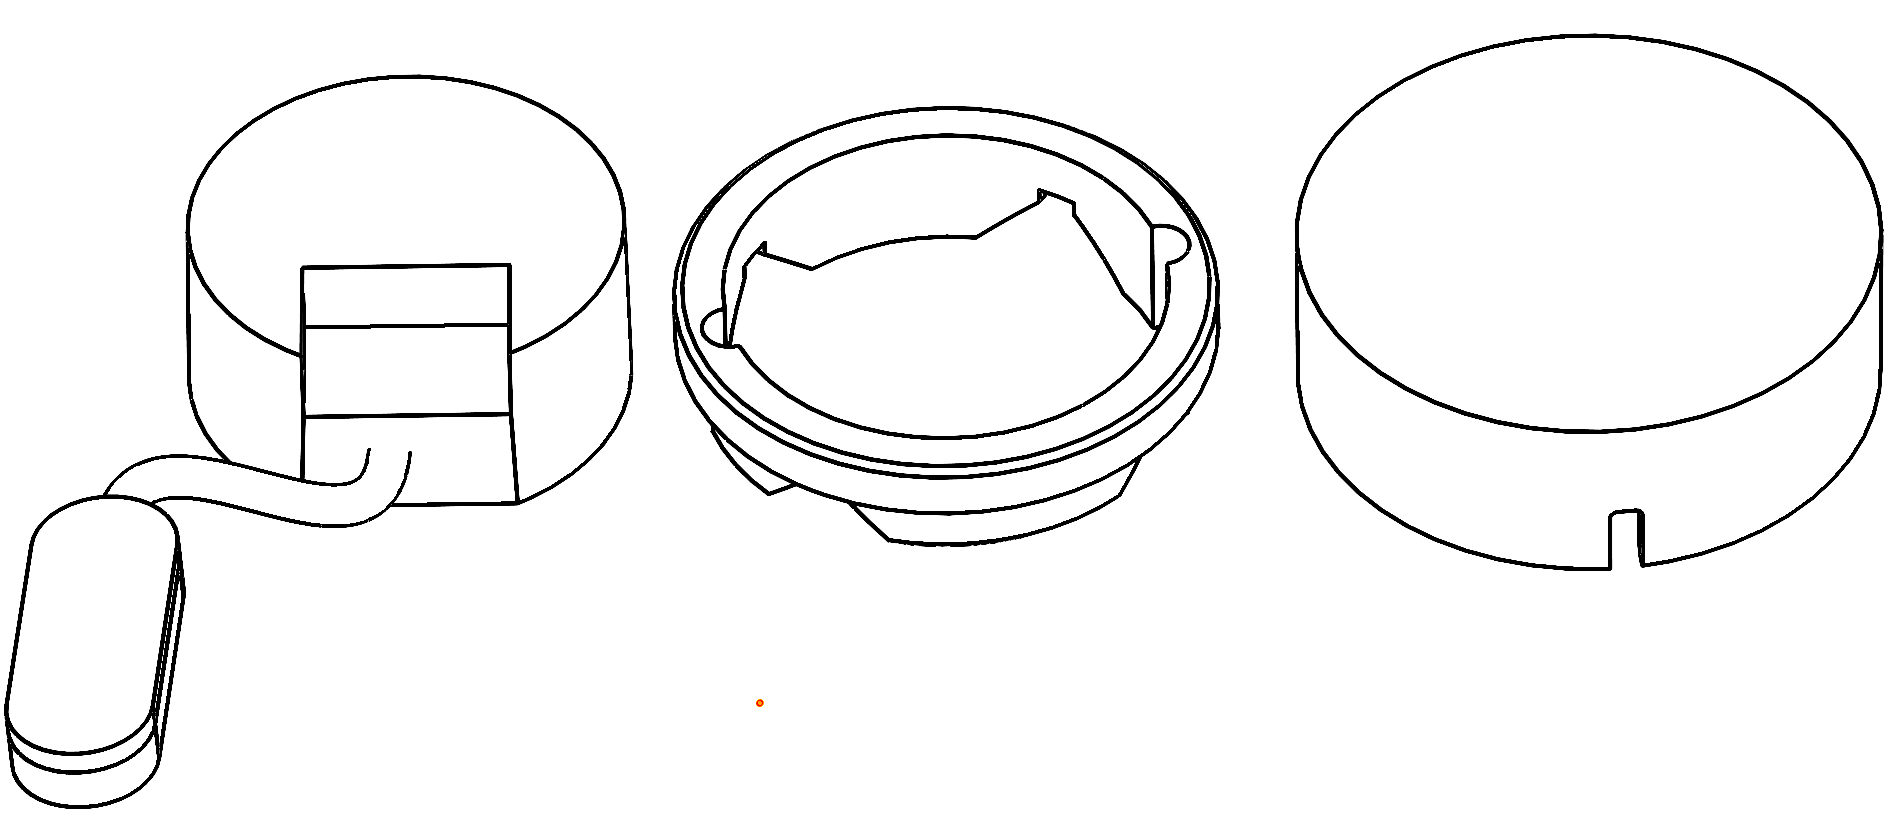
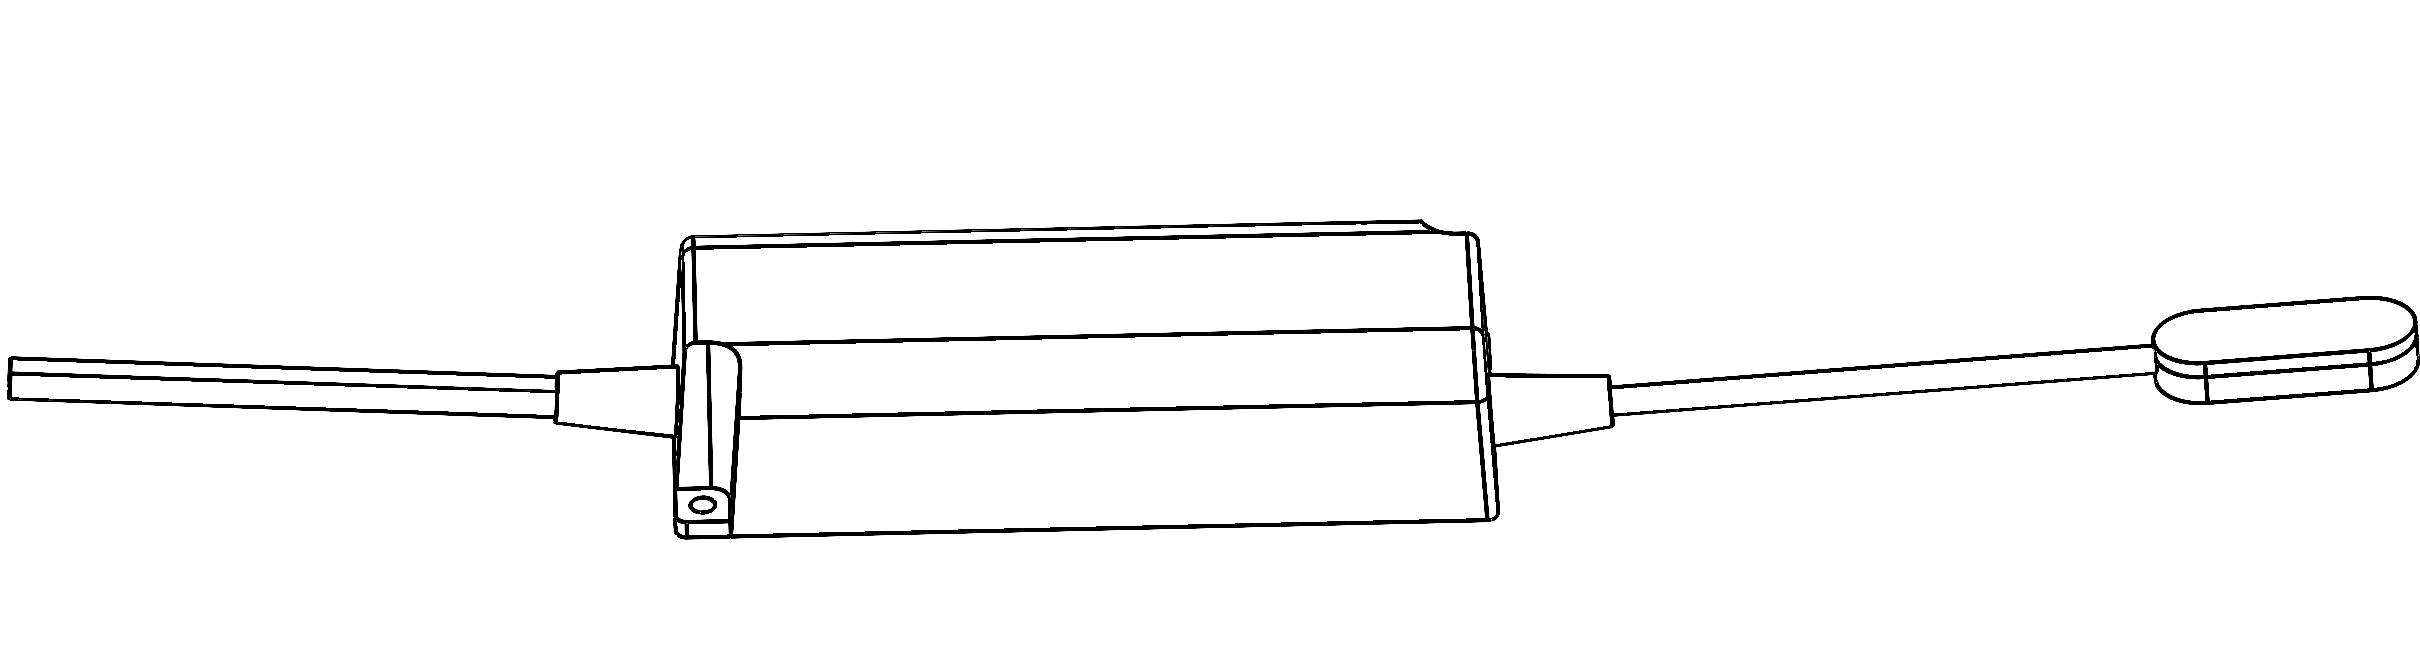
05Connect the matching power supply to a suitable socket.
 06
06Connect the feed adapter to the track. The spring contacts must sit correctly.
 07
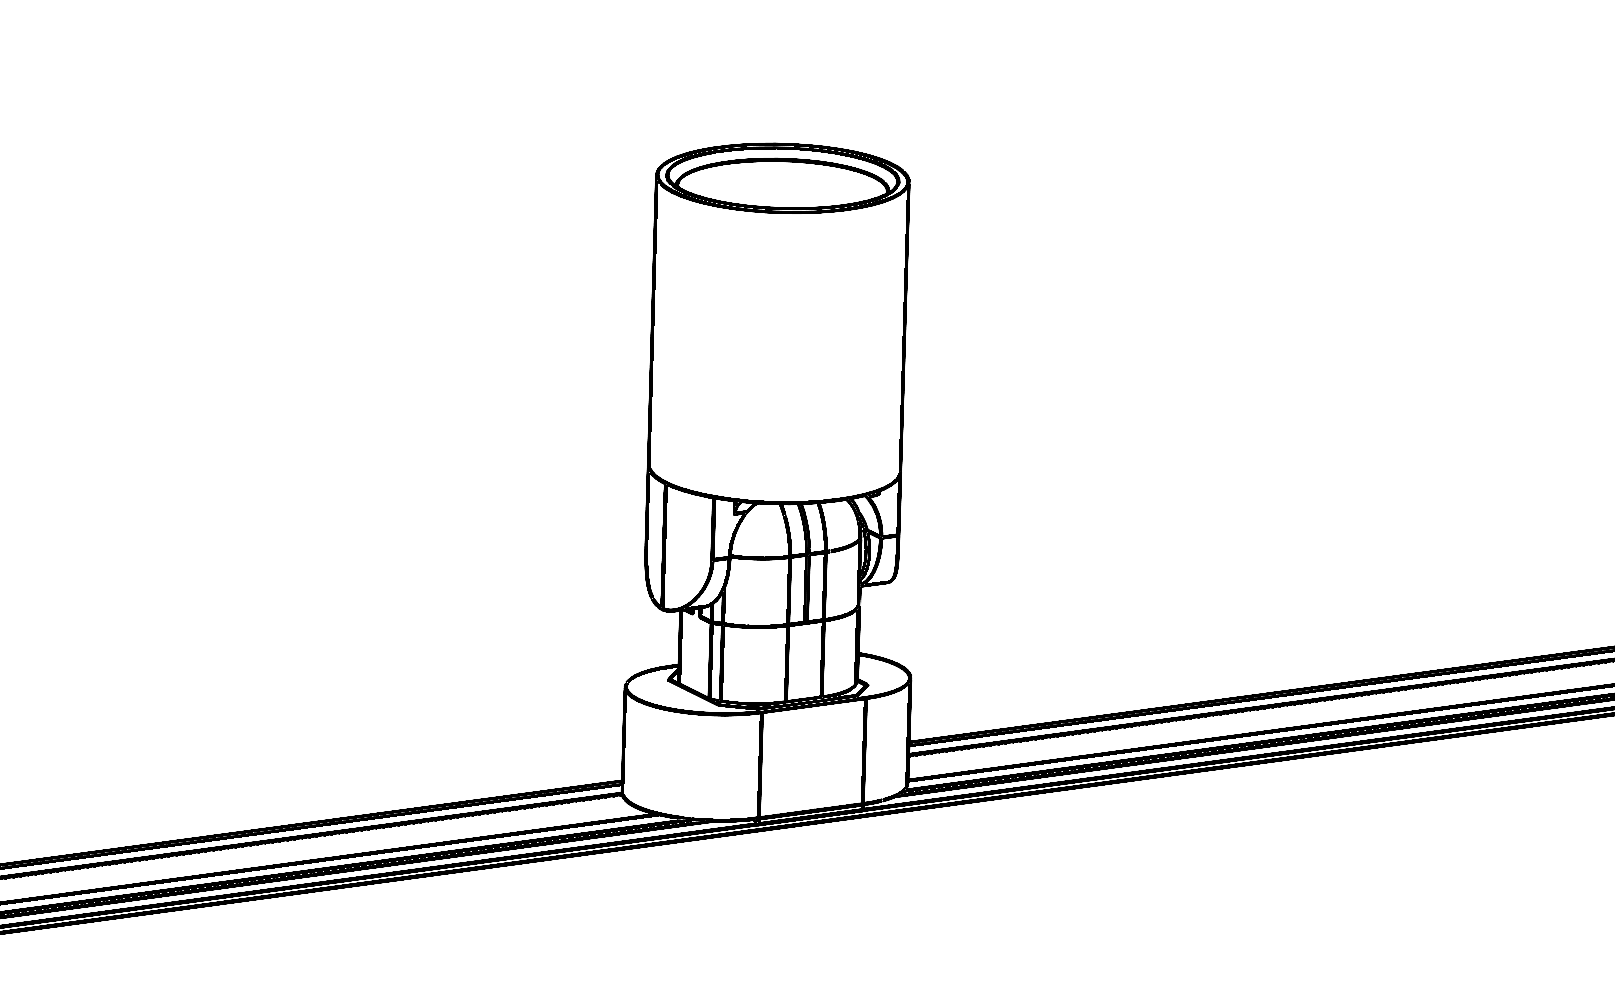
07Place the lights magnetically where they are needed.
 08
08If a light does not turn on, rotate the lamp base by 180 degrees.
Light-IT is a 24 V low-voltage system. Use only matching components and check substrate, cable routing and power supply position before mounting. For larger installations or built-in solutions, we support interior designers, carpenters and metalworkers with component selection and integration.
Watch explainer videos on YouTube